A step-by-step tutorial on how to install Git bash, manage SSH keys, integrate it to the remote server of GitHub, and text editor Visual Studio Code.

1- GitHub account: you can sign up here GitHub
2- Install Visual Studio Code
You can choose User Installer, which does not require Administrator privileges as the location will be
C:\users\{username}\AppData\Local\Programs\Microsoft VS Code
Or you can choose System Installer, which requires elevation to Administrator privileges and will place the installation under Program Files C:\Program Files\
3- Install Git bash
Note that the default path should be C:\Program Files\according to documentation, but you can definitely change it if you want to.
when the setup wizard pops up, one of the questions you will be asked is to choose your default text editor with a drop-down menu to choose your preferred text editor, in our case it will VSC.
4- Check out if the SSH key already exists or not
Open Git bash and run this command: $ ls -al/.ssh if you got the image below, that means there is already an SSH key exist.
id_rsa is your RSA private key that is used to sign and authenticate your connection to a remote host, and id_rsa.pub is your public key

If you the result as the same screenshot above, you can either overwrite it => step 5 or you can use the existing key => step 6.
5- Generate SSH keys:
run this command $ ssh-keygen -t rsa -b 4096 -C "youremail@email.net" you will then be asked to "Enter file in which to save the key(C:Users/username/.ssh/id_rsa)" = it's recommended to save SSH key in this default location, you can change it if desired but remember the location.
If there is a key that already exists, will ask to overwrite it? (Y/N)
- if Y: will ask to enter a new passphrase.
- if N: go to Step 6, to run & add existing keys to the agent.
6- Run SSH agent
An SSH agent is a key manager for SSH. It holds your keys and certificates in memory, unencrypted, and ready for use by SSH. It saves you from typing a passphrase every time you connect to a server. It runs in the background on your system, separately from SSH, and it usually starts up the first time you run SSH after a reboot.
The SSH agent keeps private keys safe because of what it doesn't do:
- It doesn't write any key material to disk.
- It doesn't allow your private keys to be exported.
Private keys stored in the agent can only be used for one purpose: signing a message, run command below to add the agent:
$ eval "$(ssh-agent -s)"
7- Add SSH key to SSH agent
If you choose a non-blank passphrase in step 5, you can have to enter it after running the following command: $ ssh-add ~/.ssh/id_rsa
8- Copy SSH Key
There are two ways to do copy your key, FIRST using bash to run this command $ clip < ~/.ssh/id_rsa.pub
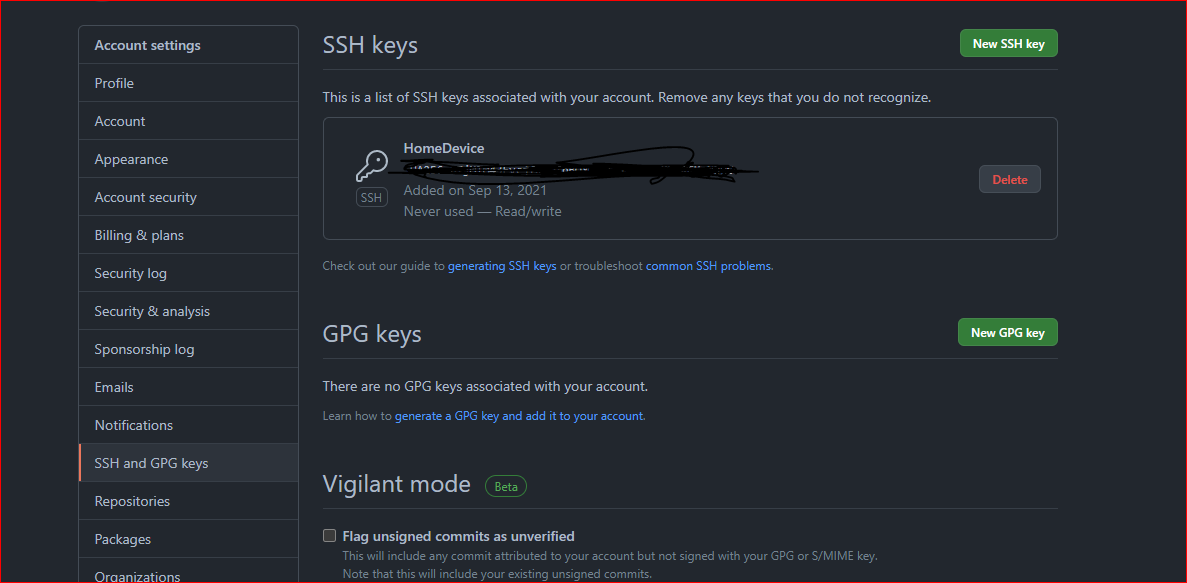
SECOND, coy your key manually by opening id_rsa.pub key with notepad, in GitHub settings, go to SSH and GPG keys tab, select the green button "New SSH Key" paste your public key, give it a name, and hit save.

9- Make sure that GitHub has been added to your computer's list of acceptable SSH hosts, by running this command: $ ssh -T git@github.com
You should see the image below, if you follow every step smoothly

The last step is to Integrate Git bash as one of your terminals or default terminal if you would like to, open VSC and start a new terminal, from the drop-down menu, select "bash" or "select default profile" then "bash".
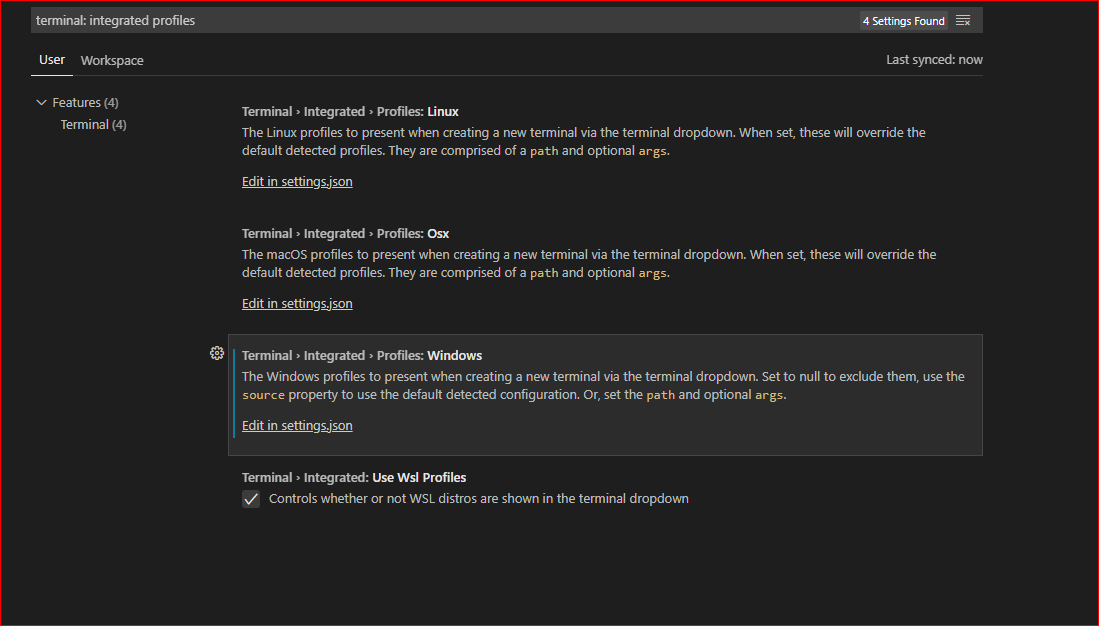
troubleshooting: if your VSC can't detect Git Bash, go to settings, then type "terminal: integrated profiles" in the search bar, and open the JSON file

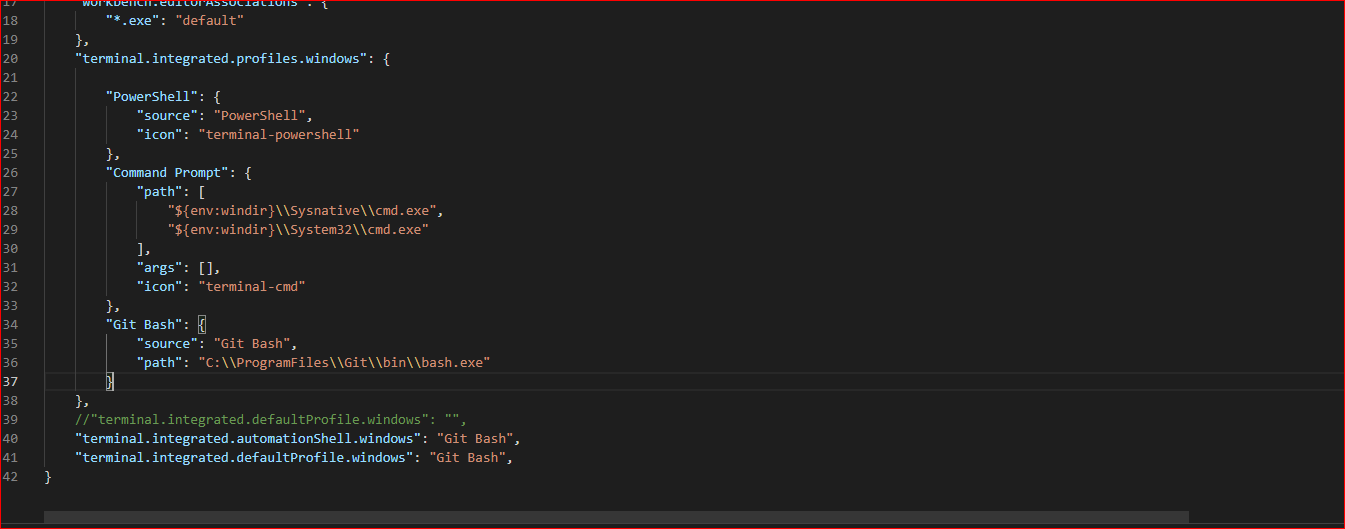
Copy and paste, the following in JSON to make git bash your default terminal.
"terminal.integrated.profiles.windows": {
"PowerShell": {
"source": "PowerShell",
"icon": "terminal-powershell"
},
"Command Prompt": {
"path": [
"${env:windir}\\Sysnative\\cmd.exe",
"${env:windir}\\System32\\cmd.exe"
],
"args": [],
"icon": "terminal-cmd"
},
"Git Bash": {
"source": "Git Bash",
"path": "C:\\ProgramFiles\\Git\\bin\\bash.exe"
}
},
//"terminal.integrated.defaultProfile.windows": "",
"terminal.integrated.automationShell.windows": "Git Bash",
"terminal.integrated.defaultProfile.windows": "Git Bash",

You have successfully installed and integrated Git Bash and Visual Studio Code, and connected remotely to the GitHub server. Enjoy coding.